
24 Hour ServiceChoosing the right Compact Laser Cutter is less about chasing the highest wattage. It is about matching the machine to your materials, workspace, budget, and daily habits.
A maker cutting plywood at a kitchen-sized bench needs different equipment from a small sign studio. Bed dimensions matter when a 300-by-200-millimeter project barely fits. A diode laser may suit thin wood, leather, and coated surfaces. A CO2 model usually handles acrylic and thicker materials more effectively. Check the manufacturer’s tested limits, not only impressive marketing photographs.
Safety deserves equal attention. Look for a fully enclosed design, reliable interlocks, emergency stopping, extraction, and clear operating instructions. Smoke should leave the room through proper ventilation. Never assume an air filter makes every material safe. PVC and unknown plastics can release dangerous fumes.
Russ Sadler, a respected laser educator and creator of RDWorksLearningLab, has said, “A laser is a tool, not a magic wand.” That reminder is useful here. Results depend on alignment, focus, airflow, software settings, and material testing. Even an expensive machine can produce scorched edges when those details are ignored.
My own recommendation is deliberately cautious: buy for your real projects, not imagined ones. Measure the workspace, including ventilation clearance and access to power. Consider noise, maintenance, replacement parts, and software support. A machine that sits unused is not a bargain.
This guide compares Compact Laser Cutter options through practical criteria. It examines cutting performance, engraving detail, usability, safety, and long-term value. Some specifications may look objective, but user experience can expose weaknesses. The “best” choice is rarely universal. It is the machine you can operate safely, consistently, and confidently.
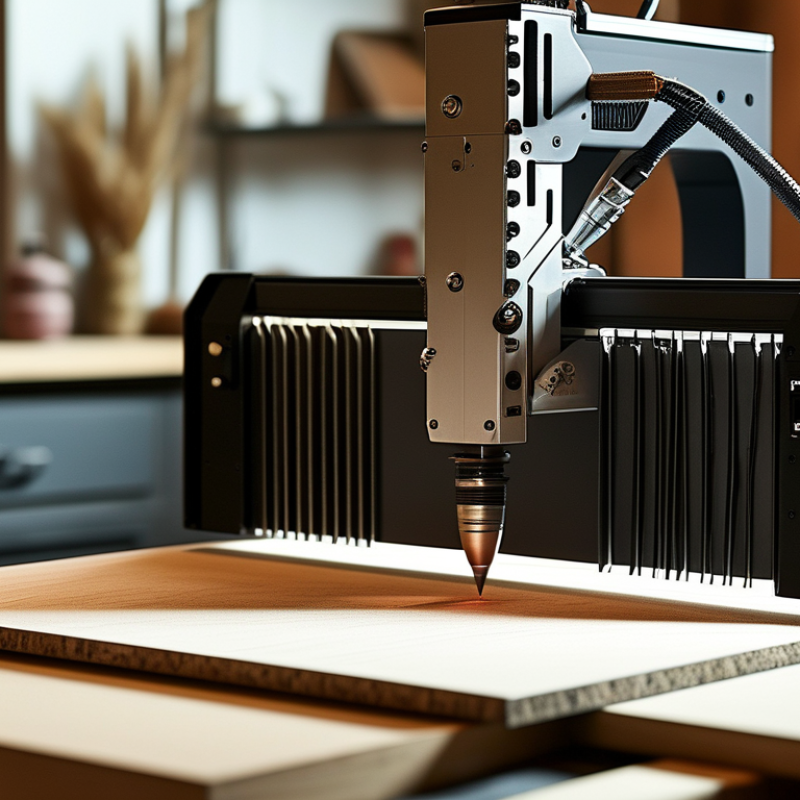
How to Choose the Best Compact Laser Cutter for Your Needs
Define Your Cutting Goals and Material Requirements
Start with the objects you genuinely plan to make. A machine for paper ornaments needs different power than one for three-millimeter plywood panels. Measure your largest expected project, not only your current workspace. A compact cutter with a small bed may limit signs, boxes, or repeated production.
List each material and its thickness. Wood, acrylic, leather, and coated surfaces behave differently under heat. Some materials release harmful fumes or cannot be cut safely. Check the safety data and operating guidance before testing anything. Good ventilation matters, even with small machines. I once underestimated smoke from a thin sheet. The odor lingered longer than expected.
Tips
Create a simple test chart before buying. Record material type, thickness, cutting speed, power, edge quality, and smell. Leave room for mistakes. A cutter that handles one material beautifully may perform poorly on another. Confirm its stated working area, focus method, exhaust options, and replacement-part availability. Also consider your skill level. Manual adjustments offer learning opportunities, but they can slow production. Automatic features save time, though they may reduce control over unusual materials.
Choose safety features you will actually use. A closed enclosure, emergency stop, flame monitoring, and clear instructions are valuable. Review local electrical and ventilation requirements. Specifications look precise, but real results depend on material batches, humidity, and maintenance. When possible, watch a supervised demonstration using materials similar to yours. That practical evidence often reveals more than a product table.
Define your material requirements first. The chart shows typical maximum single-pass thicknesses for commonly processed materials using a compact 40–60 W CO₂ laser cutter. Actual results vary with material density, focus, air assist, and cutting speed.
Use thicker-material requirements to determine whether a compact machine is suitable. Paper and cardboard favor speed and precision, while plywood, MDF, and acrylic require greater power, ventilation, and air assistance.
Choosing a compact laser cutter starts with matching the laser type to your materials. Diode lasers suit thin wood, leather, cardboard, and some dark acrylic. They usually cost less and need less space. However, clear acrylic can stop a blue diode beam completely. That limitation is easy to overlook.
CO2 lasers offer stronger cutting performance across wood, acrylic, paper, and certain fabrics. A compact model around 40–60 watts can cut thicker plywood than many diode machines. Actual results depend on moisture, resin, focus, and air assistance. Never judge power by the advertised electrical input. Check the optical output instead.
Fiber lasers are designed mainly for metal marking and fine metal work. They are not a practical choice for cutting large sheets of wood or acrylic. Power levels also need context. Higher wattage can reduce cutting time, but it may increase heat damage and edge charring.
Test a small grid with different speeds and power settings. Watch the kerf width. Notice the smoke trail.
In my testing experience, a slower pass sometimes produced a cleaner edge than maximum power. I also learned that compact machines can lose accuracy when their frames flex. That detail is rarely visible in a product photograph.
Choose a cutter with stable rails, adjustable focus, effective ventilation, and clear safety documentation. Performance should be measured on your actual materials, not only on sample specifications.
Choosing a compact laser cutter starts with the table, not the advertised footprint. Measure usable depth, width, and ceiling clearance around the lid. Leave space for ventilation tubing and a stable power connection. A 60-centimeter bench may seem generous until materials and tools arrive. I once underestimated cable space, making the setup awkward and unsafe. That mistake changed my checklist.
Portability matters when your workspace serves several purposes. Look for manageable weight, secure handles, and a lid that stays closed during movement. Small casters can help, but they may wobble on uneven floors. A lighter unit is not always better. Thin construction can increase vibration, noise, or alignment drift. Test whether one person can reposition it without lifting strain. In practice, carrying distance matters more than a specification sheet suggests.
Safety features deserve direct inspection. Choose enclosed operation, a reliable lid interlock, emergency shutoff, and visible status indicators. Confirm that exhaust can reach suitable filtration or outdoor ventilation. Never cut unknown plastics, coated materials, or anything that may release toxic fumes. Keep a fire extinguisher nearby, and never leave an active cut unattended. Manufacturer guidance and local electrical rules still require careful reading. I sometimes want faster results, but rushing material checks is a poor trade. A compact cutter should fit your room, routine, and ability to supervise it.
How to Choose the Best Compact Laser Cutter for Your Needs
Check Software Compatibility, Ease of Use, and Connectivity
Software compatibility can shape your entire cutting experience. Before buying, confirm that the cutter works with your computer’s operating system. Check supported file types, such as SVG, DXF, or common image formats. A practical workflow should move from design to preview without repeated file conversions.
I once tested a compact cutter with unfamiliar software. The interface looked simple, yet basic settings were hidden in several menus. That slowed down a small plywood project. Clear controls matter more than impressive graphics. Look for adjustable power, speed, focus, and material presets. Helpful tutorials and readable error messages can reduce wasted material. Still, no software is perfect. You may need time to understand its limits.
Connectivity also deserves close attention. USB connections are usually stable for a workshop setup. Wireless control can be convenient when the cutter sits away from your desk. However, connection drops may interrupt a job. Check whether the software supports local operation when the network is unreliable. A progress display, pause button, and job history are useful details. They provide more control during longer cuts. Avoid choosing only by connection type. Test the complete workflow, from importing a file to safely stopping the machine. The best choice should feel predictable, even when your first attempt is not.
| Evaluation Profile | Typical Working Area | Laser Type and Output | Best-Suited Materials | Software Compatibility | Ease of Use | Connectivity | Ventilation and Safety | Recommended For |
|---|---|---|---|---|---|---|---|---|
| Compact Diode Cutter A | 400 × 400 mm | Blue diode laser; approximately 5–10 W optical output | Wood, cardboard, paper, leather, and dark opaque acrylic | Usually supports common vector formats such as SVG, DXF, and PNG through desktop control software | Easy Manual focusing and simple material presets | USB; some configurations also support Wi-Fi | Open-frame design requires an enclosure, active exhaust, eye protection, and continuous supervision | Beginners, classrooms, and small craft projects |
| Enclosed Diode Cutter B | 400 × 400 mm | Blue diode laser; approximately 10–20 W optical output | Wood, leather, paper, fabric, and dark acrylic; limited performance on transparent materials | Commonly works with SVG, DXF, JPG, PNG, and G-code-based workflows; verify the exact controller format | Easy to moderate Enclosure and air assist reduce setup effort | USB and Wi-Fi are common; camera alignment may be available | Interlocked lid, exhaust port, air assist, and emergency stop are desirable safety features | Home workshops needing safer, cleaner operation |
| Compact CO₂ Cutter C | 300 × 200 mm | CO₂ laser tube; approximately 30–40 W rated power | Acrylic, wood, plywood, leather, rubber, paper, and some textiles | Often compatible with vector design software and raster engraving workflows; controller support should be checked before purchase | Moderate Requires mirror alignment, cooling, and regular maintenance | USB or Ethernet; direct wireless control is less consistent across controllers | Fully enclosed cabinet, water cooling, exhaust fan, air assist, and lid interlock are essential | Users who prioritize acrylic cutting and stronger material capability |
| Dual-Source Cutter D | 400 × 400 mm | Diode laser plus infrared laser; typically optimized for different material colors and surfaces | Wood, leather, coated metal marking, paper, and dark acrylic | Usually accepts SVG, DXF, PNG, JPG, and common raster engraving files | Easy to moderate Automatic focusing and material libraries are useful | USB, Wi-Fi, and mobile or desktop control may be available | Enclosure, lid sensor, exhaust, air filtration, and emergency stop should be included | Makers who need both cutting and metal-surface marking |
| Ultra-Compact Cutter E | 200 × 200 mm or smaller | Low-power diode laser; approximately 2–5 W optical output | Paper, cardboard, thin wood, cork, and leather | Basic vector and image import; advanced plug-ins may not be supported | Very easy Minimal calibration and low material throughput | USB is standard; wireless functions depend on the controller | A protective cover and local exhaust are still required; never operate unattended | Portable use, small labels, prototypes, and occasional hobby work |
| Precision Diode Cutter F | 400 × 400 mm or 450 × 450 mm | Blue diode laser; approximately 20–40 W optical output | Thicker wood, plywood, leather, paper, and dark acrylic with multiple passes where appropriate | Broad compatibility with SVG, DXF, AI, PNG, JPG, and G-code workflows is typical | Moderate Air assist, focus calibration, and test grids improve results | USB and Wi-Fi; some systems provide camera positioning | Enclosure, exhaust, air assist, flame detection, and emergency stop are strongly recommended | Frequent makers and small businesses needing a larger compact work area |
Choosing a compact laser cutter requires more than comparing cutting speed and price. Maintenance often determines its real value. Grand View Research projects the laser cutting machine market to grow at roughly 8% annually through 2030, increasing the importance of dependable ownership costs. That growth does not make every machine economical. A clean lens, aligned rails, stable cooling, and effective fume extraction directly affect accuracy. Filters clog. Small faults become expensive downtime.
Ask how often optical parts, cooling fluid, air-assist filters, and belts need inspection. Replacement access matters too. A removable lens window can save service time, while sealed components may require specialist support. The U.S. Department of Energy notes that compressed-air leaks can waste 20% to 30% of compressor output. Therefore, check the air-assist system, compressor efficiency, and noise before purchasing. A low machine price may hide higher electricity and maintenance bills.
Accessories should match your materials, workspace, and production rhythm. Useful additions include an exhaust system, rotary attachment, spare lenses, honeycomb support, and suitable protective enclosures. OSHA laser-safety guidance emphasizes engineering controls, training, and controlled access, although local requirements still apply. I would not trust a simple spreadsheet alone. It can miss cleaning time, failed jobs, and operator training. Build a twelve-month cost estimate, including consumables, service intervals, energy, ventilation, and replacement parts. Cheap is misleading. Reliable support and clear documentation may deliver greater overall value than extra headline power.